Installing
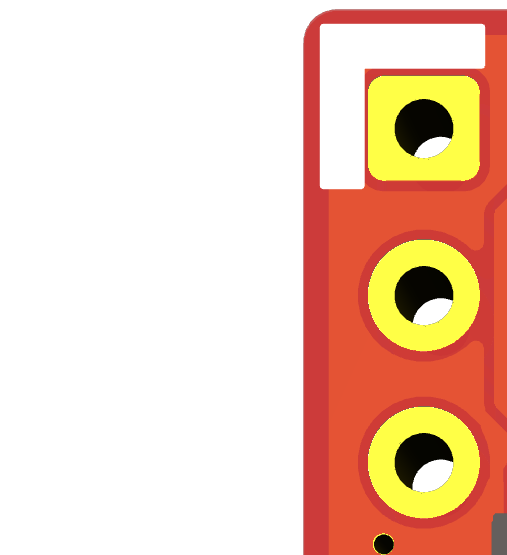
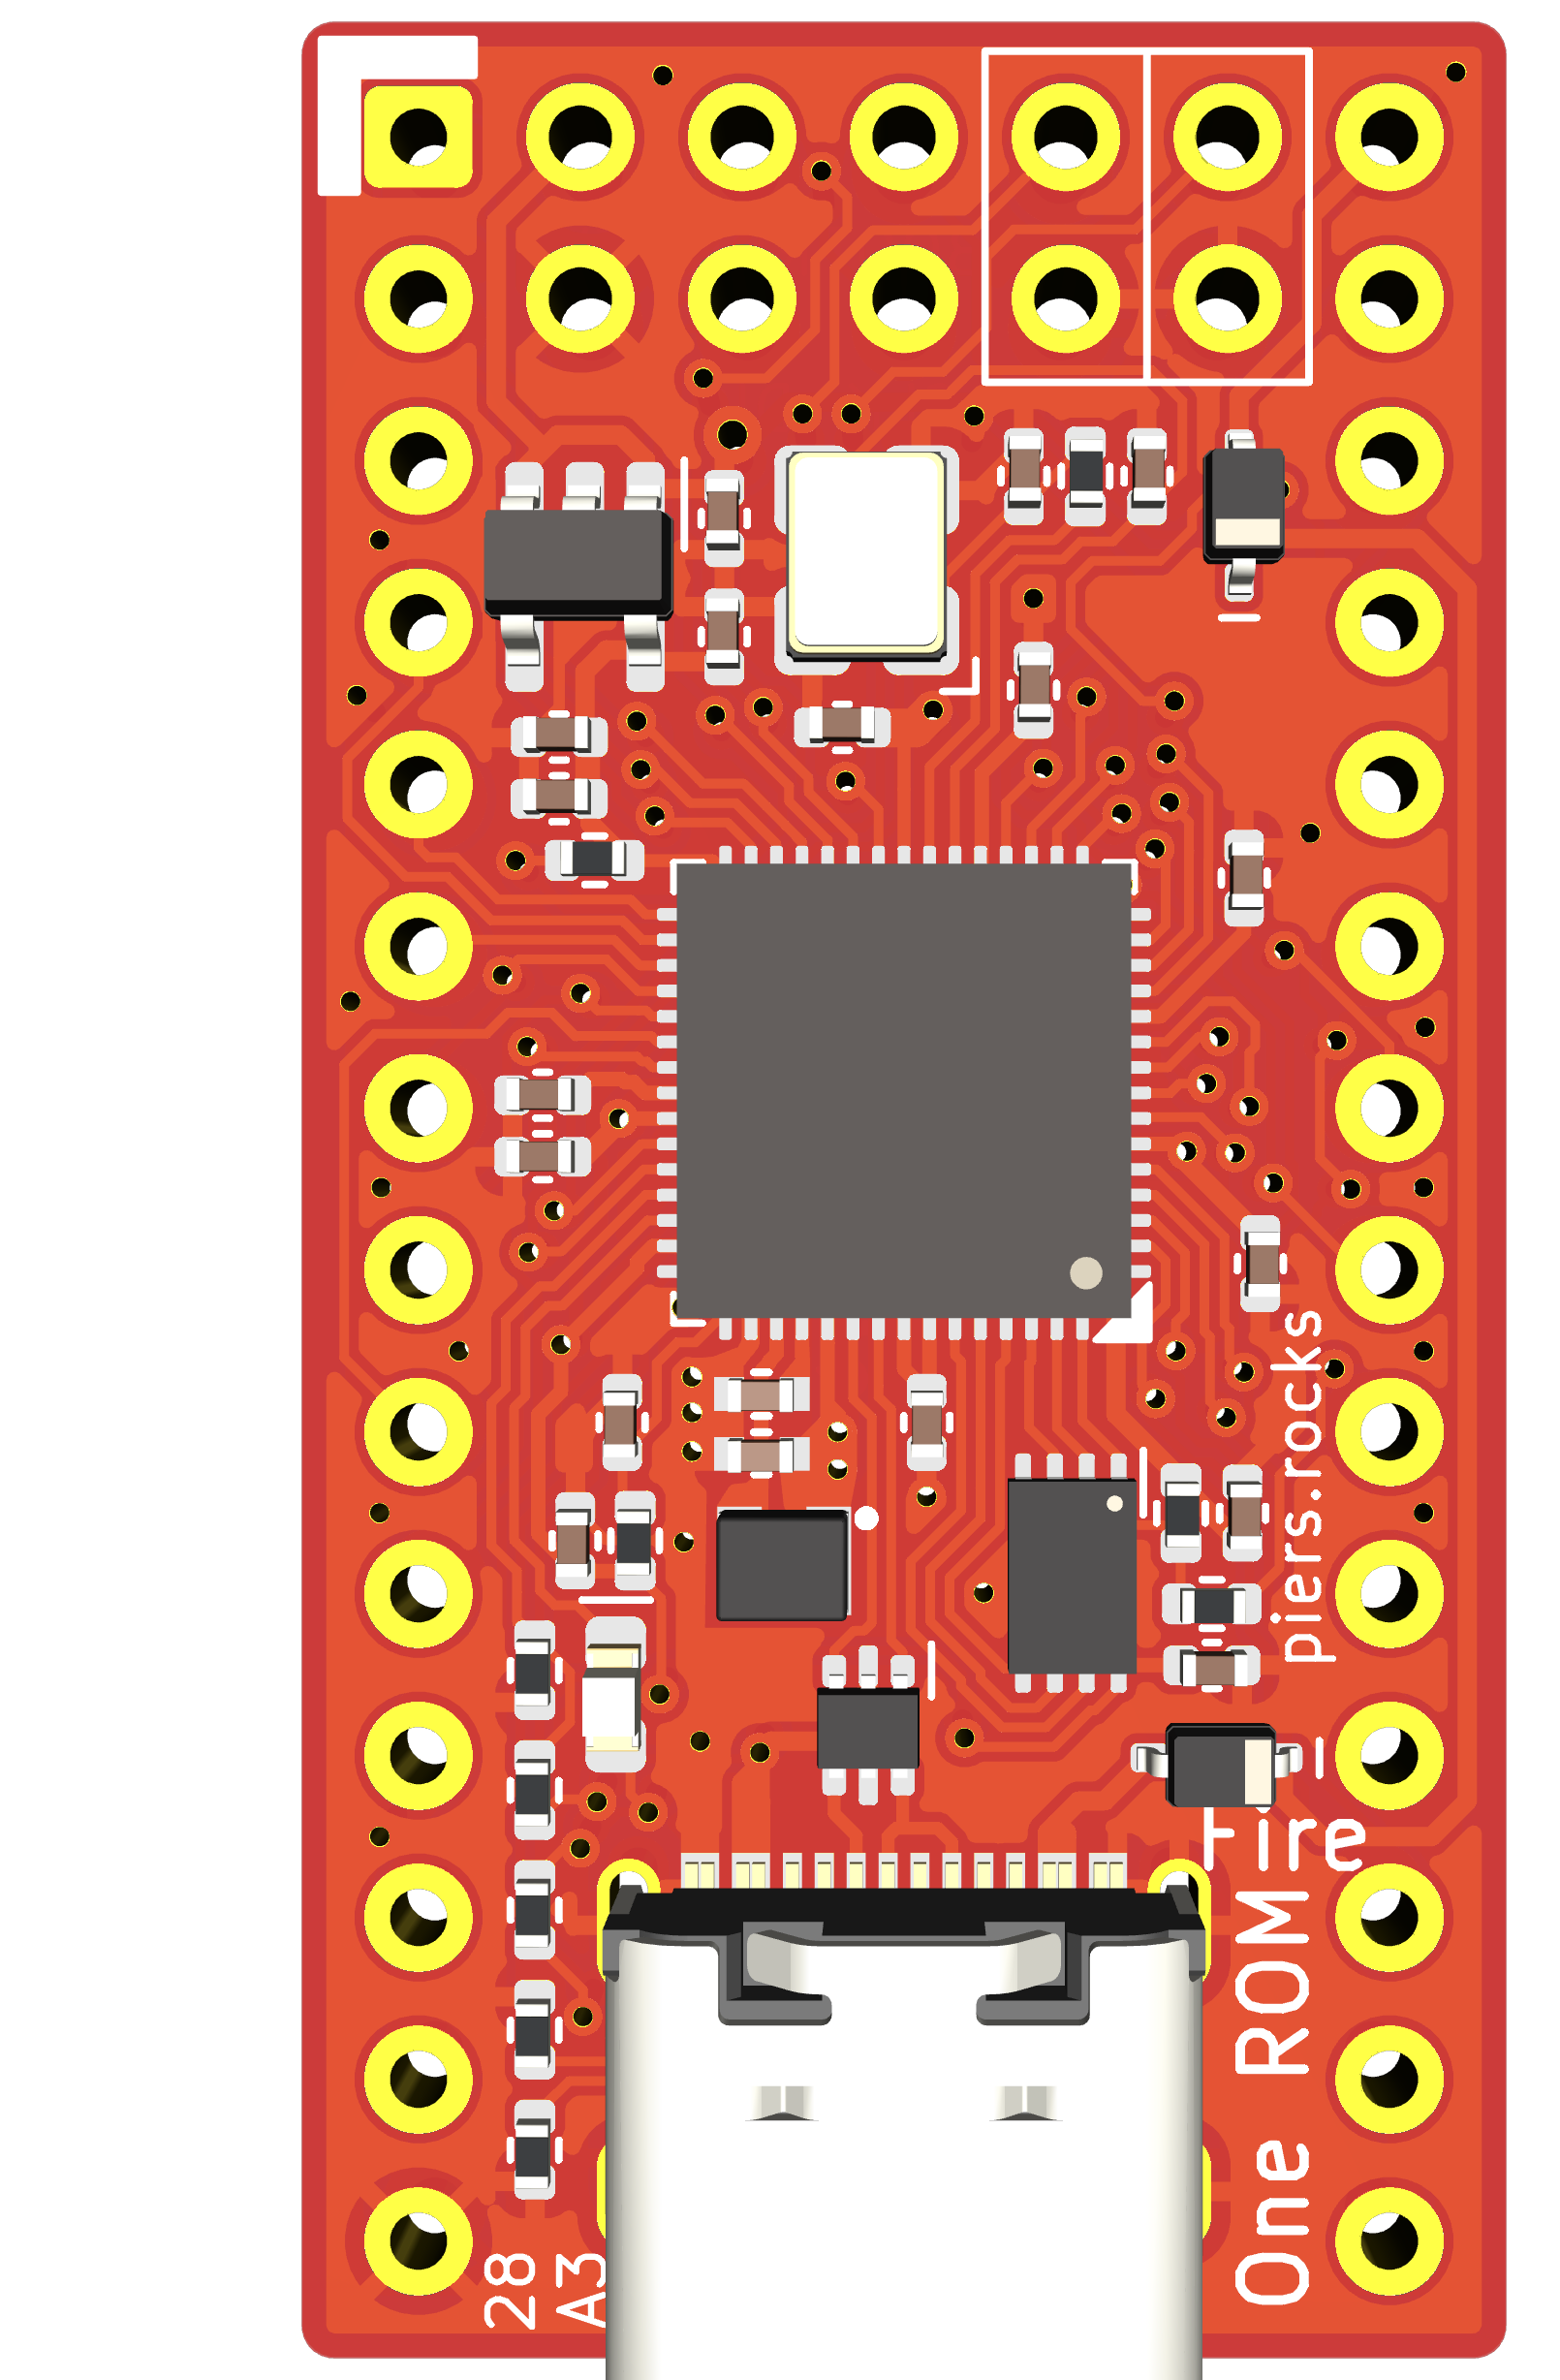
Always install One ROM in the correct orientation. Pin 1 is clearly marked with a white L (corner) shape on the PCB. The USB connector is always at the other end to pin 1.
⚠️ Incorrect installation can damage your One ROM, your retro system, or both.
Programming Options
One ROM comes either blank or pre-programmed with a specific set of ROM images. You will need to program it with the desired ROM images before use.
Your options are:
This is the best option for most users.
One ROM Hardware
You can either buy One ROMs or have your own manufactured using the design files.
Choose from the options below.
Models
Pins
Programming
The newest models support both USB and Pro in a single variant
USB Programming
Some setup may be required on your computer the first time you program a One ROM via USB:
If using One ROM Web then you may need to set up a udev rule to allow access to the One ROM device. You may also need to allow your browser to access USB devices. See here. Android Requires no special setup, but you must use a Chrome-based browser and a USB OTG adapter cable to connect the One ROM device to your Android device.
Pro (SWD) Programming
For One ROM Pro, you need an SWD programmer, also known as a debug programmer, to program the One ROM device.
Raspberry Pi's Debug Probe has excellent compatibility with both One ROM Fire and Ice. You can also use a standard Raspberry Pi Pico as an SWD programmer.
Alternatively, many other SWD programmers are available. A generic CMSIS-DAP or DAPLink programmer from one of the usual online marketplaces should work and only cost a few dollars. You can also use Airfrog, a companion project, for wireless programming and debugging.
You must connect the CLK, DIO and GND pins from the programmer to the corresponding pins on One ROM. See this document for indentifying the pins on your One ROM.
You will also need to power One ROM with 5V to program it. This can be done by connecting the 5V pin from the programmer (if it has one) to the 5V pin on One ROM. Alternatively, you can install One ROM in a retro system and power it on for programming.
Always ensure One ROM is correctly oriented when installing in your retro system - incorrect orientation can damage One ROM or your retro system.
ROM Images
One ROM can be programmed with a collection of different types of ROM images.
One ROM Web allows you to select from a curated collections of popular ROM images for various retro systems, and also upload your own ROM image.
As well as these pre-defined collections, One ROM Studio allows you to build your own collections and program those to One ROM, using a JSON configuration file. See this sample config.
Selecting Images
One ROM offers flexible and powerful options for selecting between ROM images at boot time, selecting between them dynamcally (while the system is running), and also serving multiple ROM sockets simultaneously from a single One ROM socket.
To use this capability, you will need to use the header pins on One ROM. These are located between pins 1 and 24/28 of the device. If they are not populated with pins, you will need to solder standard 0.1"/2.54mm pitch header pins.
For instructions on how to use the header pins for image selection, see here. Note that different One ROM revisions may use different pins to indicate different image numbers.
If you are programming a single ROM image, you do not need to use the header pins.
Building From Source
Full instructions for building and flashing One ROM from source are provided in the One ROM GitHub repo. Start with INSTALL.md.
Support
If you encounter any issues using One ROM we want to help! Either:
- Raise an issue.
- Start a discussion.